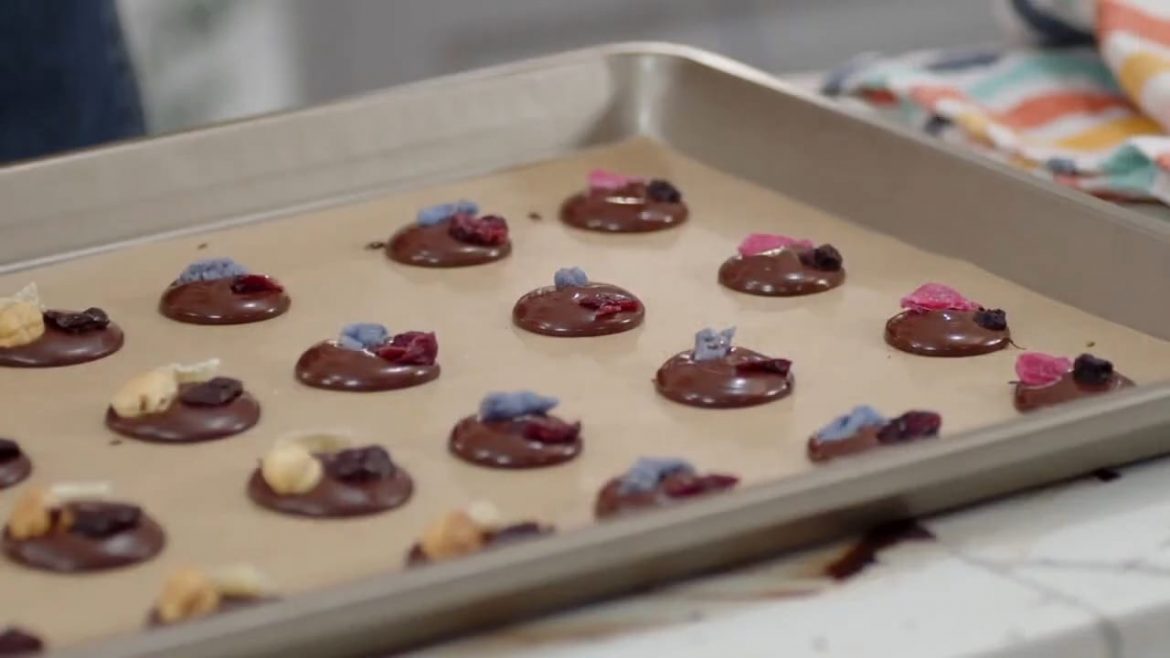
Instructions below! Want your chocolate to have the shine and “snap” of a professional baker’s? Watch along – or bake along! – as Anna teaches you two methods (seed and table) for tempering chocolate at home at room temperature. It’s a great skill that’ll save you hours of time, and only takes a little practice to master!
Want to warm up for this 201 recipe? Try these 101-level bakes:
Recipe Information:
Tempering chocolate involves heating chocolate, cooling it while moving it, and then reheating slightly to cause good crystallization, which binds and sets the chocolate. Without this tempering process, melted chocolate would take hours to set and it would have a dull, soft finish. The good news is that heating and cooling chocolate does not harm it, so if you do not successfully temper the chocolate on your first or even second try, you can reuse and retemper it as needed.
Tools & Ingredients:
Seed tempering requires no tools beyond a bowl, a spatula, and a thermometer, but it takes a little more active time stirring the chocolate to cool it. Table tempering is quicker but requires a marble or other smooth stone surface (your table) and putty knives to move the chocolate around the cool surface. Both methods are for 10 oz (300 g) dark baking/couverture chocolate (semisweet or bittersweet).
Follow along with the 📝 recipes below👇🏾👇🏾
Because of their higher cocoa butter, milk, and sugar contents, milk chocolates, white chocolates, and ruby chocolates temper at different temperatures than dark chocolate.
Ingredients
Instructions
Seeding Method:
Bring it to barely a simmer. Have ready an instant-read digital thermometer.
Place it over the water bath. Wait 30 to 45 seconds for the heat to reach the chocolate, then stir until it has melted and reaches 113°F to 122°F (45°C to 50°C). If it gets warmer than this, let it cool to below 113°F (45°C) and rewarm.
Continue to stir until the chocolate reaches 82°F (28°C). Return the bowl to the water bath and stir until the chocolate reaches 88°F to 90°F (31°C to 32°C)—this doesn’t take long. The chocolate is ready to use and will set at room temperature with a nice satin finish.Tabling Method:
Bring it to barely a simmer.
Place it over the water bath. Wait 30 to 45 seconds for the heat to reach the chocolate, then stir gently until it has melted and reaches 113°F to 122°F (45°C to 50°C).
Pour two-thirds of the chocolate onto the marble board. Set the bowl with the remaining chocolate off to the side on a towel (away from the heat and not on the marble).
Then use your tools to push the chocolate back into the centre of the board, scraping your tools to clean them of the chocolate at each push. Moving the chocolate on the cool marble will lower the temperature of the chocolate. Keep repeating this spreading and scraping in until the chocolate reaches 82°F (28°C).
It should be 104°F to 113°F (40°C to 45°C) and completely smooth. If the temperature goes higher, you must let it cool to below 104°F (40°C) and start again. Add the marble-cooled chocolate back to the bowl and stir for about 30 seconds. Check the temperature again: it should be between 88°F and 90°F (31°C and 32°C), which means it is “tempered.” To double-check, dip a piece of parchment paper into the chocolate and set it on your marble board: it should start setting within a minute or two.Notes
The key temperatures are:
Recipe video
Bon Appétit
Let us know what you think of today’s temper Chocolate tips, tricks, and hacks!

